
Mealworms provide your birds with a steady source of protein without demanding much space or money. For farmers and bird keepers interested in mealworm farming in Kenya, this practice is a practical solution that fits small plots, backyard setups, and modest budgets. By producing this sustainable protein at home, you can significantly reduce feed costs while improving the health of your Kienyeji chicken.
This guide keeps things simple, so you can start small, watch what works, and grow at your own pace in the warm climate of Kenya. You will see how mealworms can help support healthier birds and make use of everyday farm materials.
For a quick visual reference, this video is useful: How To Breed Mealworms! Mealworm Farming 101
Key Takeaways
- Low-Cost Protein: Mealworm farming is an affordable, space-efficient way for Kenyan poultry farmers to supplement bird diets with high-quality protein, reducing overall feed expenses.
- Simple Maintenance: Success relies on keeping a dry, well-ventilated, and clean environment using readily available materials like wheat bran and kitchen scraps for hydration.
- Manageable Life Cycle: By utilizing a three-box system to separate eggs, larvae, and beetles, you can maintain a consistent, self-sustaining population with minimal effort.
- Avoid Common Pitfalls: Most colony losses occur due to excess moisture or poor pest control; keeping your bins on raised stands and monitoring humidity is essential for long-term health.
What Mealworms Are and Why Farmers Keep Them
Mealworms, scientifically known as Tenebrio molitor, are the larval form of the darkling beetle. They are small, easy to raise, and rich in protein, which is why many farmers keep them for animal feed. For anyone learning how to farm mealworms in Kenya, the appeal is simple: they take little space, need basic care, and can turn low-cost agricultural waste into a high-value protein source.
Farmers keep mealworms because they fit well into small-scale systems. They can be grown in trays, buckets, or simple wooden boxes, and they do not need expensive equipment. That makes them a good choice for backyard poultry keepers, bird owners, and farmers who want a steady feed supplement without buying more commercial protein every week.
In Kenya, there are no specific, complex regulations currently governing the small-scale farming of mealworms for personal livestock use. As with any agricultural activity involving animal feed, it is always recommended to maintain high hygiene standards to ensure the health of your birds and follow any local public health guidelines related to animal husbandry.
The mealworm life cycle in simple terms
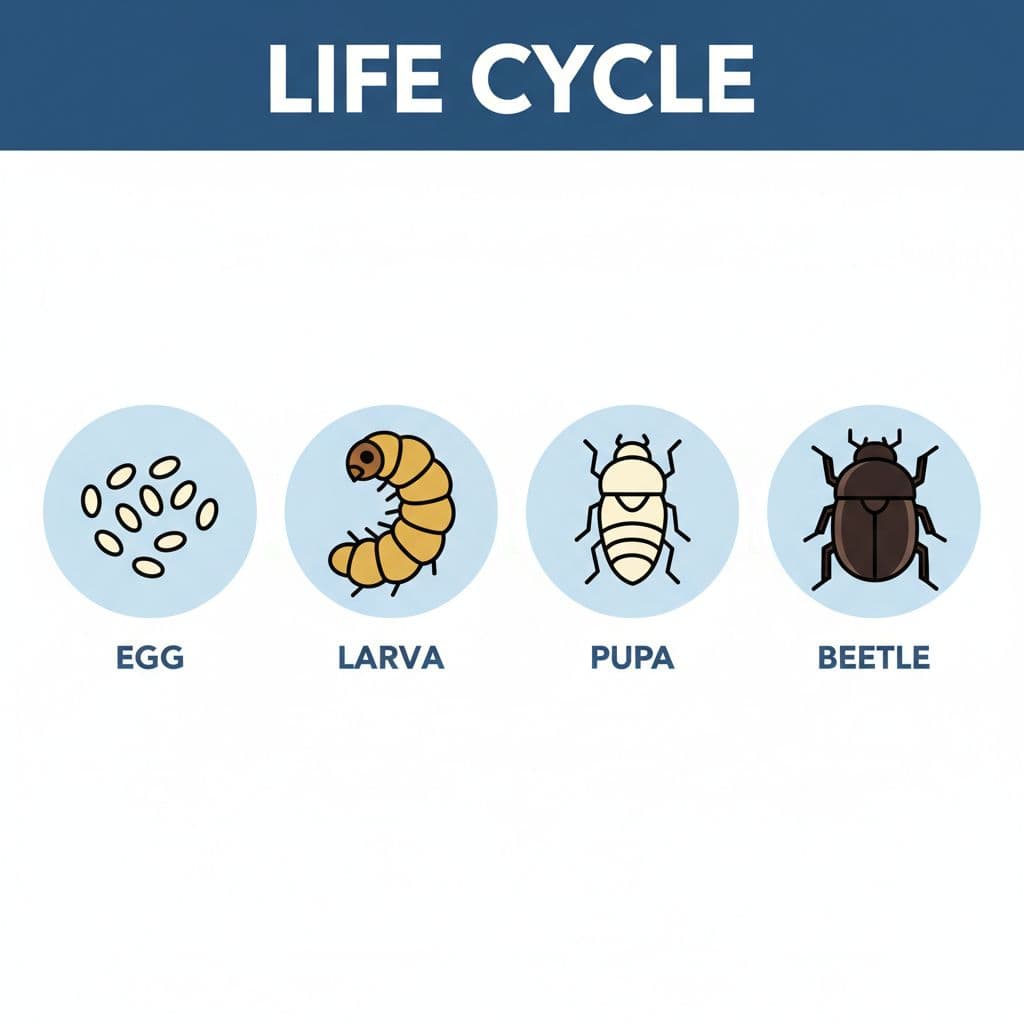
The mealworm life cycle consists of four distinct stages: egg, larva, pupa, and beetle. The larval stage is the form most farmers recognize as the mealworm, which is the version typically harvested for feed. After this, the insect enters the pupal stage, eventually emerging as a beetle that lays new eggs to restart the process.
Knowing this life cycle helps you manage your stock better. If you harvest all the larvae too early, you reduce the number that can grow into beetles and lay eggs. If you leave some larvae to mature, you keep the colony going. In other words, breeding and harvesting work best when you separate the stages and keep a small group for reproduction.
How mealworms help chickens, ducks, and cage birds
Mealworms are a protein-rich feed that supports growth, feather repair, and general body strength. In the context of poultry farming, these insects serve as an excellent supplement. Regular intake can even contribute to the production of yellow-yolked eggs, which are highly prized by consumers. While some farmers also consider using black soldier fly larva as an alternative protein source, mealworms remain one of the easiest insects to cultivate on a small scale at home.
For poultry keepers, mealworms are useful as a supplement, not a full feed. A handful can help young birds grow, support hens during laying, and give weak birds a better chance to recover. Ducks also enjoy them, but they still need a balanced diet with enough calcium for strong shells.
Bird keepers often use mealworms as a treat because birds respond well to them. They are easy to hand-feed, which helps with taming, training, and daily flock checks. For a broader look at insect feed benefits, see this review on poultry feed alternatives.
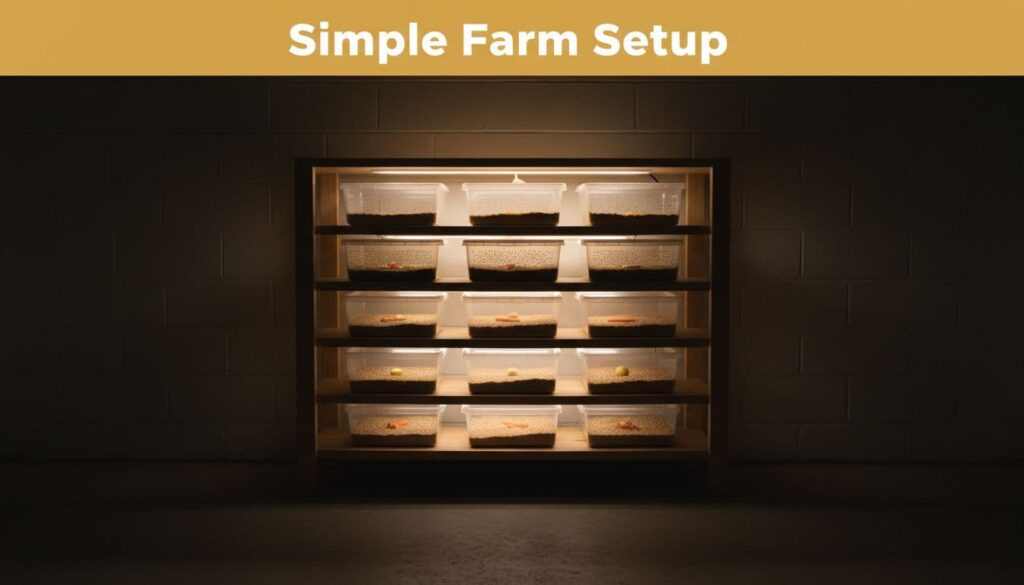
Set up a small mealworm farm with low-cost materials
A small mealworm setup does not need fancy gear. You can start with a spare room, a shaded shed, or a clean corner of your home using simple items you already have. The goal is to keep the colony dry, warm, and easy to check.
For beginners learning how to farm mealworms in Kenya, the smartest move is to keep the first setup small and simple. That makes it easier to control heat, moisture, and pests before you grow the colony. A neat setup also saves space and lowers your losses.
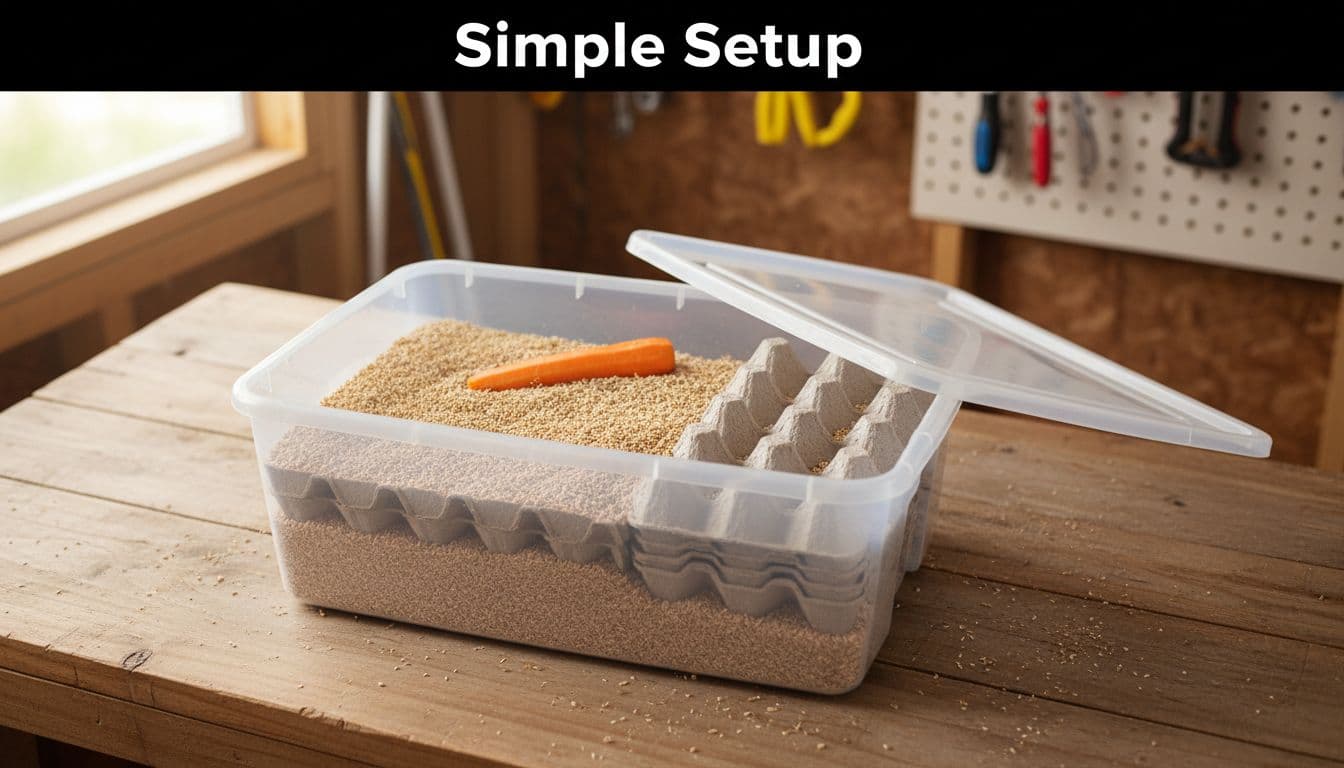
### Choose the right container and location
A shallow plastic container works well for a starter colony. Choose a box with smooth sides so the worms cannot climb out easily. A clear or light-colored box also makes it easier to check the bedding and spot mold or beetles.
Keep the container in a place that stays dry, warm, and well-ventilated. In Kenya, that usually means a shaded indoor spot or a sheltered shed, not direct sun. Proper ventilation is critical because heat builds up fast in closed containers, and airflow helps prevent dampness. Unlike composting worms such as red wigglers that thrive in moist soil, mealworms require a strictly dry environment to survive and reproduce.
A warm, airy spot is better than a hot one. Too much heat or trapped moisture can damage the colony fast.
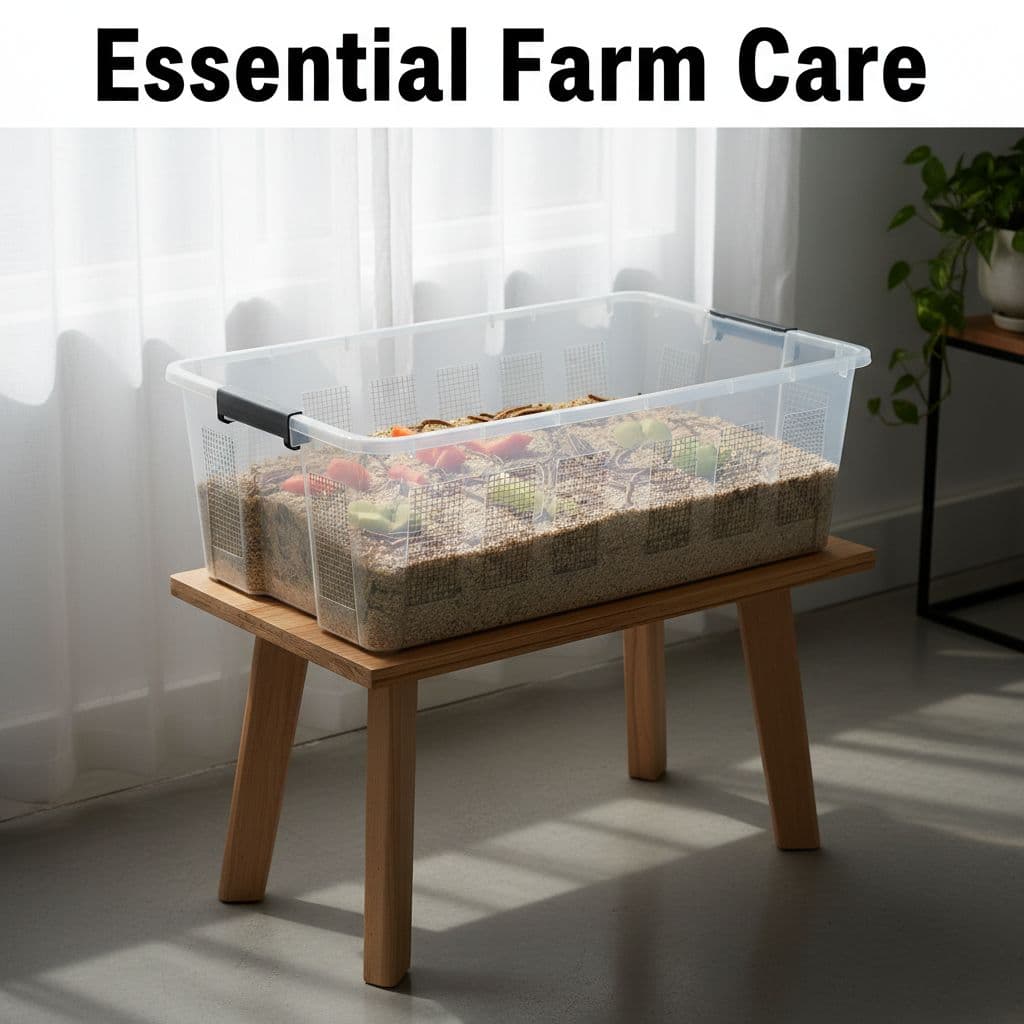
Protect the setup from ants, rats, and other pests by placing the container on a shelf, table, or stand. If you can, put the legs of the stand in small cups with water or oil to slow ant entry. Avoid placing the box on the floor, where pests and dampness are more common.
Gather bedding, feed, and moisture sources
The substrate should be dry and easy for the worms to move through. Good low-cost options for this edible bedding include:
- Wheat bran
- Oats or oatmeal
- Maize meal
- Chicken feed
Add pieces of cardboard or egg trays on top. These give the worms hiding places and extra surface area. They also help reduce crowding in a small bin.
For moisture, use small pieces of carrot, potato, or apple. While mealworms primarily eat the grain-based substrate, they can also process small amounts of organic waste or clean kitchen waste for hydration. Place the vegetables on a lid, plate, or dry surface so the rest of the bedding stays dry. Replace them before they soften or smell. Too much wet food invites mold, and mold spreads fast in warm conditions.
If you want a simple reference for common starter materials, this basic mealworm setup guide gives a clear overview.
Start with a small number of live mealworms
Begin with a modest starter batch so you can learn the routine before you scale up. A small colony is easier to manage, and it teaches you how much feed, moisture, and space your worms really need. That matters more than crowd size in the beginning.
Start by adding dry bedding to the container, then place the live mealworms on top. Add a few pieces of cardboard or egg tray, then move the box to a warm, shaded place. Check it often during the first week so you can confirm the bedding stays dry and the worms stay active.
A small start also helps you spot mistakes early. If the bedding gets damp, if ants appear, or if the worms cluster in one corner, you can fix the problem quickly. Once the setup runs well, you can expand into more trays with confidence.
You can source starter mealworms in Kenya by checking local online marketplaces, reaching out to established poultry farmers, or searching for insect farming cooperatives in your area. Additionally, many agricultural supply stores or specialized animal feed shops are beginning to stock live starter kits for small-scale breeders. Start by asking other local chicken keepers where they purchase their live feed, as referrals are often the most reliable way to find healthy, active colonies.
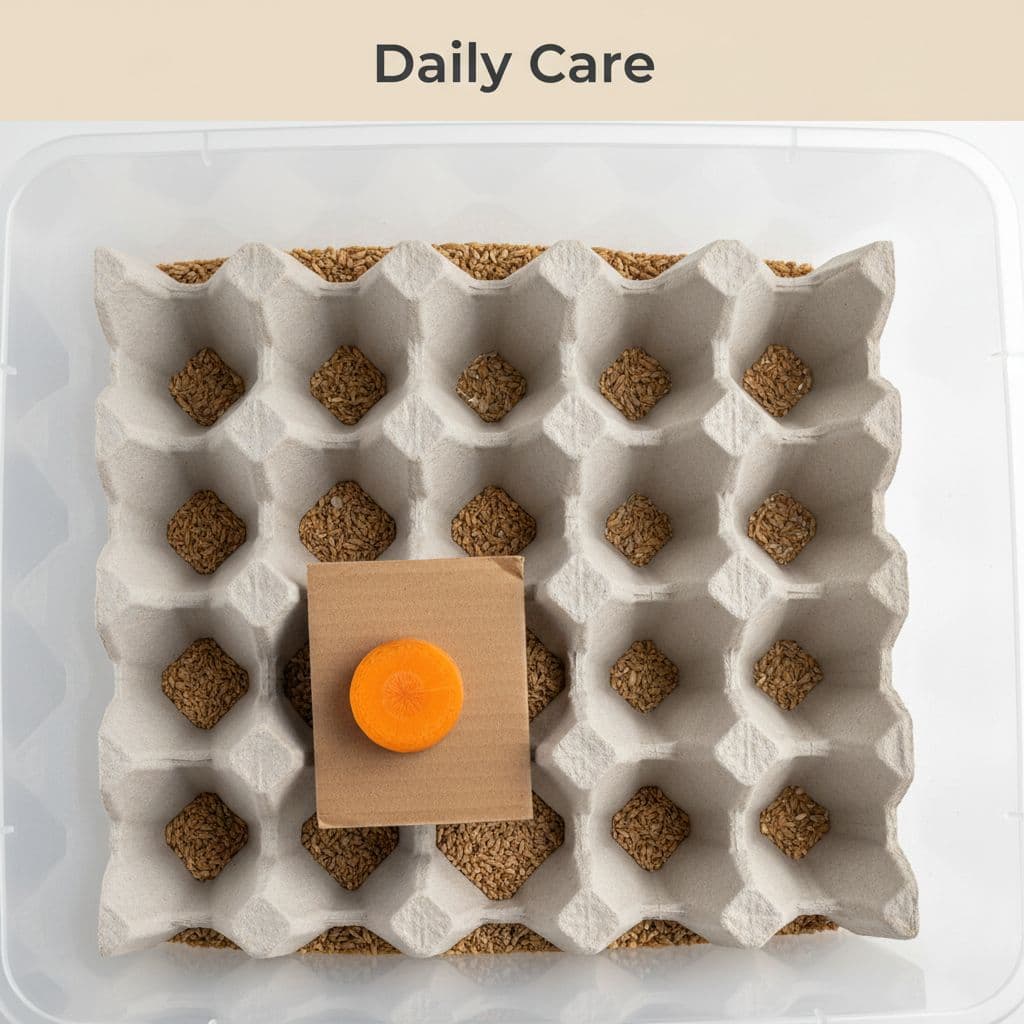
How to Feed and Care for Mealworms Every Day
Daily care is simple, but it has to stay consistent. Mealworms do best when their food stays dry, their moisture stays controlled, and their tray stays clean. If you get those three things right, the colony stays active and grows with fewer losses.
### Use dry feed the mealworms can eat well
Mealworms thrive on dry grains and bran-based feeds. In Kenya, wheat bran is the best starting feed because it stays dry, stores well, and is easy to find. You can also use oats, maize meal, poultry starter mash, or even common chicken feed as a reliable supplementary feed. Other options include crushed cereal or dry pet food to add variety to the mix.
Add dry feed in a thin layer, then check it before topping up. For most small colonies, a small refresh every few days is enough. You do not need to pile food high, because excess feed traps moisture and attracts mold.
Keep the bedding dry at all times. If you use feed that feels damp, spread it out first or mix it with bran. Wet feed breaks down quickly, and that can turn the bin sour. A dry bin is like a clean kitchen shelf; it stays easier to manage and safer for the worms.
Use dry feed as the base, then add moisture separately. That keeps the colony cleaner and easier to control.
Keep the right amount of moisture without making a mess
Mealworms need hydration from a consistent moisture source rather than standing water. Small slices of carrot, potato, pumpkin, or apple work perfectly for this. Place the pieces on a dry lid or a small tray so the bedding remains dry underneath.
Check this moist feed daily and remove leftovers before they soften or develop an odor. In warm weather, that often means taking them out within 24 hours. Because you are farming in a specific climate, it is vital to monitor the temperature and humidity of your environment to ensure the worms stay healthy and the bins do not become overly damp. Soggy food and standing water are the main mistakes beginners make, and both can ruin a tray fast.
For more on feeding balance, this mealworm raising guide provides a useful reference. The rule is simple: use just enough moisture to keep the worms hydrated, not enough to soak the bin.
Clean the farm often to prevent smell and mold
A clean farm stays productive. Remove old vegetable scraps, dead worms, and clumps of dirty bedding whenever you check the tray. If the bin smells sharp or sour, clean it at once.
Make cleaning a habit. Every day, look for wet spots, mold, and leftover feed. Once a week, sift out the waste. The fine powder that settles at the bottom is known as worm castings, which serves as a high-quality fertilizer that supports sustainable organic farming practices. Replace bedding that looks dark, clumped, or damp.
Keep the process simple:
- Remove spoiled food.
- Pick out dead worms and pupae.
- Stir or sift the bedding lightly.
- Add fresh dry feed only after the bin looks clean.
A few minutes of care each day keeps the colony healthy, and it saves you from bigger losses later.
Breed mealworms and keep the cycle going
Once your tray is healthy and active, the next step is breeding mealworms to ensure your farm stays productive. That means keeping enough beetles, eggs, and young worms moving through the system so you always have fresh stock. If you want a reliable, self-renewing food source for birds or poultry, this is where your efforts turn into a consistent supply.
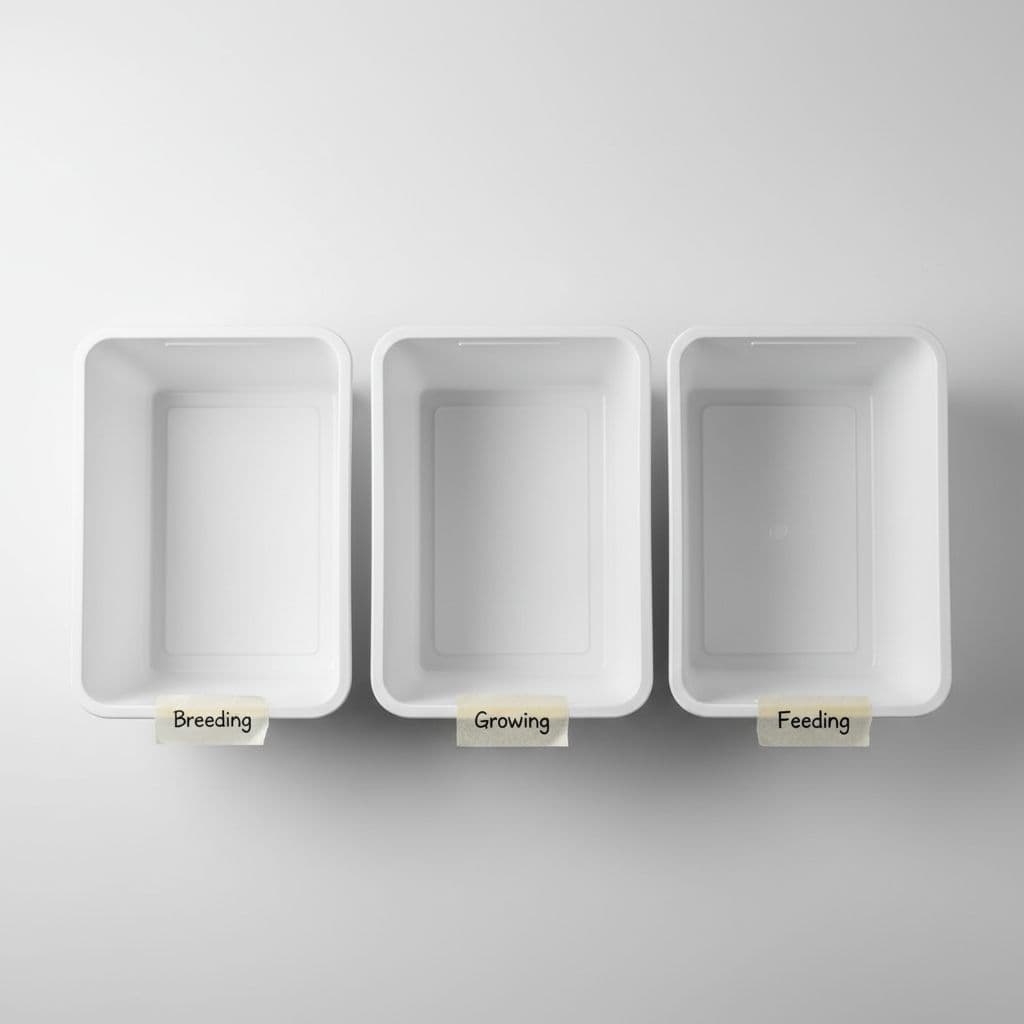
### Why a three-box system makes breeding easier
A three-box setup keeps each life stage in its own place. The breeding box holds adult beetles and eggs, the growing box holds the larval stage, and the feeding box holds the larger worms you plan to harvest. That separation matters because each stage needs different care to thrive.
In the breeding box, beetles can lay eggs without adults trampling the young. In the growing box, tiny worms get space to feed and develop. In the feeding box, you keep harvest-sized worms apart so you do not lose the next generation by mistake.
This system also makes checking the colony much easier. You know where the eggs are, where the small worms are, and where the feed-ready worms are. That saves time and helps you avoid mixing stages in one crowded tray.
When to separate pupae and beetles
Pupae need protection because they cannot move much. During this delicate pupal stage, they are soft and easy to damage, so keep them away from hungry worms and active beetles. Place them in a separate container until they turn into beetles.
Once beetles emerge, move them into their own breeding box. Beetles may eat eggs or disturb very small larvae if they stay in the same tray too long. A separate container gives the eggs a better chance to hatch safely.
As a simple rule, move pupae as soon as you spot them and keep beetles away from the growing worms. That small habit protects the next generation. It also keeps your breeding line clean and easier to manage.
How long it takes to build a steady supply
Mealworm breeding takes patience. A new colony usually needs about 2 to 4 months before it starts to support itself well. Eggs hatch first, then the larvae grow, then the beetles mature and lay more eggs.
Warm conditions and steady feeding speed things up, while cold weather and crowding slow them down. So if you are learning how to farm mealworms in Kenya, start with a realistic pace and do not rush the process.
A small, healthy colony is better than a big, messy one. Keep the stages separate, check the trays often, and let the cycle build naturally. After a few months, the farm becomes easier to read, and your supply starts to look predictable.
Harvest, dry, and store mealworms for feeding or sale
Once your colony is steady, harvest care matters as much as feeding care. Good timing gives you larger worms for your livestock, cleaner stock for sale, and fewer losses in storage. The main goal is simple: pick the right worms, dry them well if you want longer life, and keep them in a place that stays clean and dry. By producing your own, you save significantly on the rising costs of commercial feed.
Pick the right size and stage for harvesting
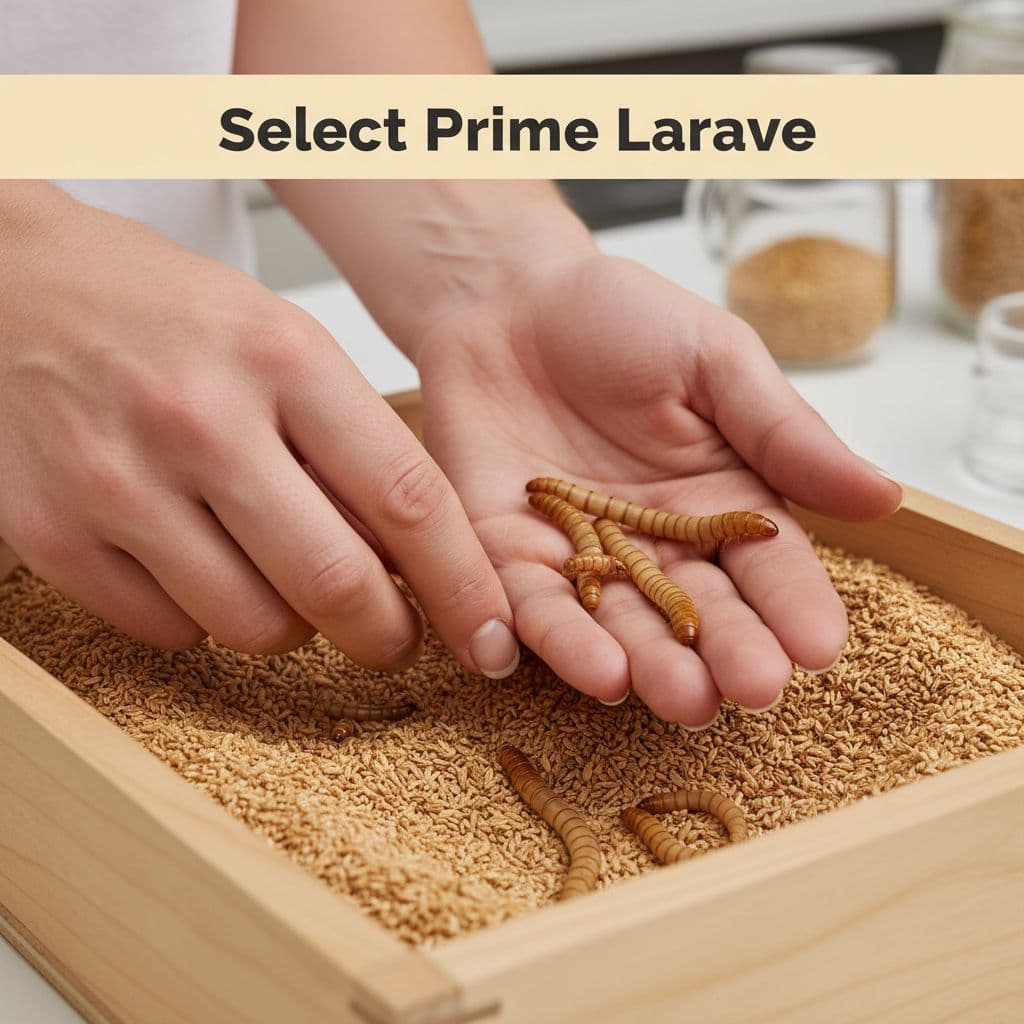
Harvest worms when they are full-sized, active, and firm. The best ones are usually large, golden-brown, and moving well. If you wait too long, many will change into pupae, and that slows your feed supply.
Watch the tray closely. Worms that curl less, stretch more, and look heavier are ready first. These nutrient-rich larvae serve as an excellent high-protein snack for birds. They are particularly beneficial for molting chickens, as these birds require extra protein to support healthy feather growth.
Separate any pupae and small beetles right away. Those are part of the breeding cycle, not the feeding batch. Keeping them apart protects your next round of eggs and young larvae.
Dry mealworms the safe way for longer storage
Fresh mealworms are fine for immediate feeding, but drying helps you store them for longer and move them more easily. Before drying, kill them first by freezing, then rinse off dirt if needed. After that, spread them in a single layer on a clean tray.
Use low heat in an oven or a food dehydrator. Keep the worms separated so air can move around them. They should come out dry and brittle, not soft in the middle. If you break one open and still see moisture, keep drying.
Never store mealworms while damp. Moisture invites mold fast.
For a simple dry-storage overview, the mealworm drying guide gives a practical reference.
Store them so they stay fresh and usable
Choose a tight-sealing jar, food-grade bucket, or sealed bag for dried mealworms. Then place the container in a cool, dry cupboard or shelf away from sunlight. If the air is humid, add a moisture absorber or freeze the sealed pack for longer keeping.
Fresh worms need a different approach. Keep them in dry bran with a small moisture source, and use them quickly. Whether you are feeding chickens or preparing stock for sale, clean containers and dry storage spaces make the difference between usable worms and spoiled ones.
Protect every batch from ants, mice, and damp floors. A raised shelf works better than the ground, and a well-closed lid is always worth the extra effort.
Avoid the mistakes that cause most beginner failures
Most early mealworm losses come from simple setup mistakes, not from the worms themselves. If you keep the tray dry, cool, and checked often, you cut out most of the problems before they start. That matters even more in hot, dusty, or humid parts of Kenya, where small errors turn into fast losses.
### Too much moisture and poor airflow
Wet bedding is one of the fastest ways to lose a colony. Poor ventilation creates stagnant air, which encourages mold, bad smells, mites, and dead worms, especially when vegetable scraps stay in the tray too long. In humid weather, even a small wet patch can spread trouble across the whole bin.
Keep the container dry and well-ventilated. Use only small pieces of carrot, potato, or apple, then remove leftovers before they soften. If the bedding starts to clump or smell sour, clean it right away and add fresh dry bran.
Heat, ants, rats, and other pests
Mealworms hate direct sun and rough handling. Unstable temperature and humidity levels can be particularly dangerous for the health of your darkling beetle adults, which are responsible for the next generation of larvae. A hot plastic bin can overheat fast, so place the farm in shade, under a roof, or inside a cool room. A simple beginner setup works best when the tray stays stable and easy to check.
Pests are another common problem. Ants, rats, and even careless movement can wipe out a tray. Put bins on a stand, keep lids secure, and avoid setting containers on bare floors. For small farms and home spaces, a shelf in a dry corner is usually enough.
Starting too big before learning the basics
Many beginners try to fill several trays at once, then struggle to feed, clean, and sort them properly. A single healthy tray teaches you more than five messy ones. It also keeps your costs low while you learn what works in your space.
Start with one box or tray, then expand only after you can manage it without losses. Once you know how to control moisture, heat, and cleaning, adding more trays becomes much safer.
Frequently Asked Questions
Can I use local maize meal as mealworm feed?
Yes, maize meal is an excellent, low-cost bedding and feed option for mealworms in Kenya. Ensure the maize meal is kept dry and is not allowed to clump, as damp substrate can quickly develop mold and attract pests.
How do I know when the mealworms are ready for my chickens?
Harvest your mealworms when they reach their full, plump larval stage, typically appearing golden-brown in color. Avoid waiting too long, as they will pupate and turn into beetles, which are better left in your breeding colony to lay more eggs.
Are there any specific diseases I need to watch out for?
Mealworms are generally very hardy, but they are susceptible to mold and mite infestations caused by high humidity or poor ventilation. If you notice a sharp, sour smell or dark, clumpy bedding, clean the bin immediately and replace the substrate to ensure your birds receive only healthy feed.
How much space do I actually need for a small farm?
You can start a productive farm in a single shallow plastic container kept in a shaded, dry corner of a room or shed. Because mealworms can be stacked, they are ideal for small-scale operations and do not require large tracts of land or expensive infrastructure.
Conclusion
Mealworm farming is simple when you keep the setup dry, warm, and clean. Start small with one container, learn the feeding and cleaning routine, then expand only when the colony is stable.
For those involved in poultry farming in Kenya, establishing a steady routine can turn basic materials into a high quality protein source for livestock. With patience and careful sorting, mastering mealworm farming in Kenya allows you to build a dependable supply of feed that fits a small farm and supports healthier, more productive birds.